

Client Situation
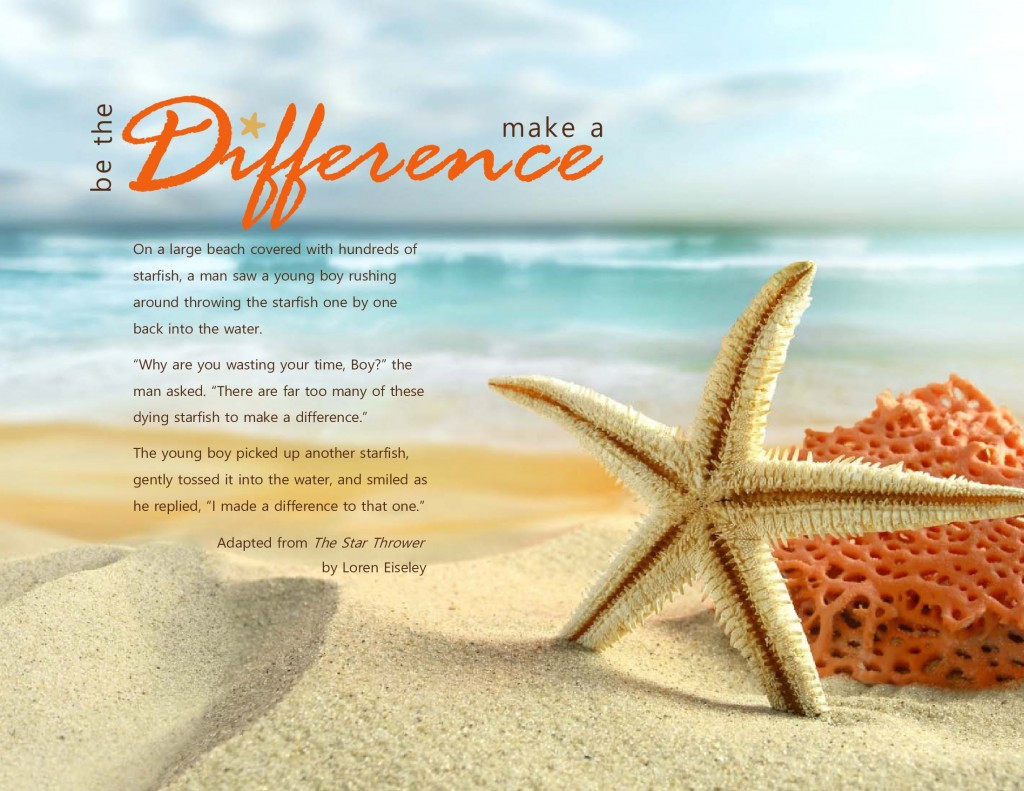
Now you have learned to choose two classic typefaces that work well together. Let’s try something more creative, even beautiful! Just remember to use Script and Decorative fonts sparingly, avoid the black list and use the design principle of Contrast. For example, notice the first example above has only one large word in Script.
For this situation, your employer asks you to add “tasteful typography” to a special image for a company blog post. You must use only Microsoft Word to create the project. Be sure to follow the design process. Choose two contrasting typefaces and follow the video tutorials below (and others as needed) to learn the hidden design features of Microsoft Word.
Preparation
Quality image(s): How to Find Quality Online Images (How to Find Quality Online Images Transcript)
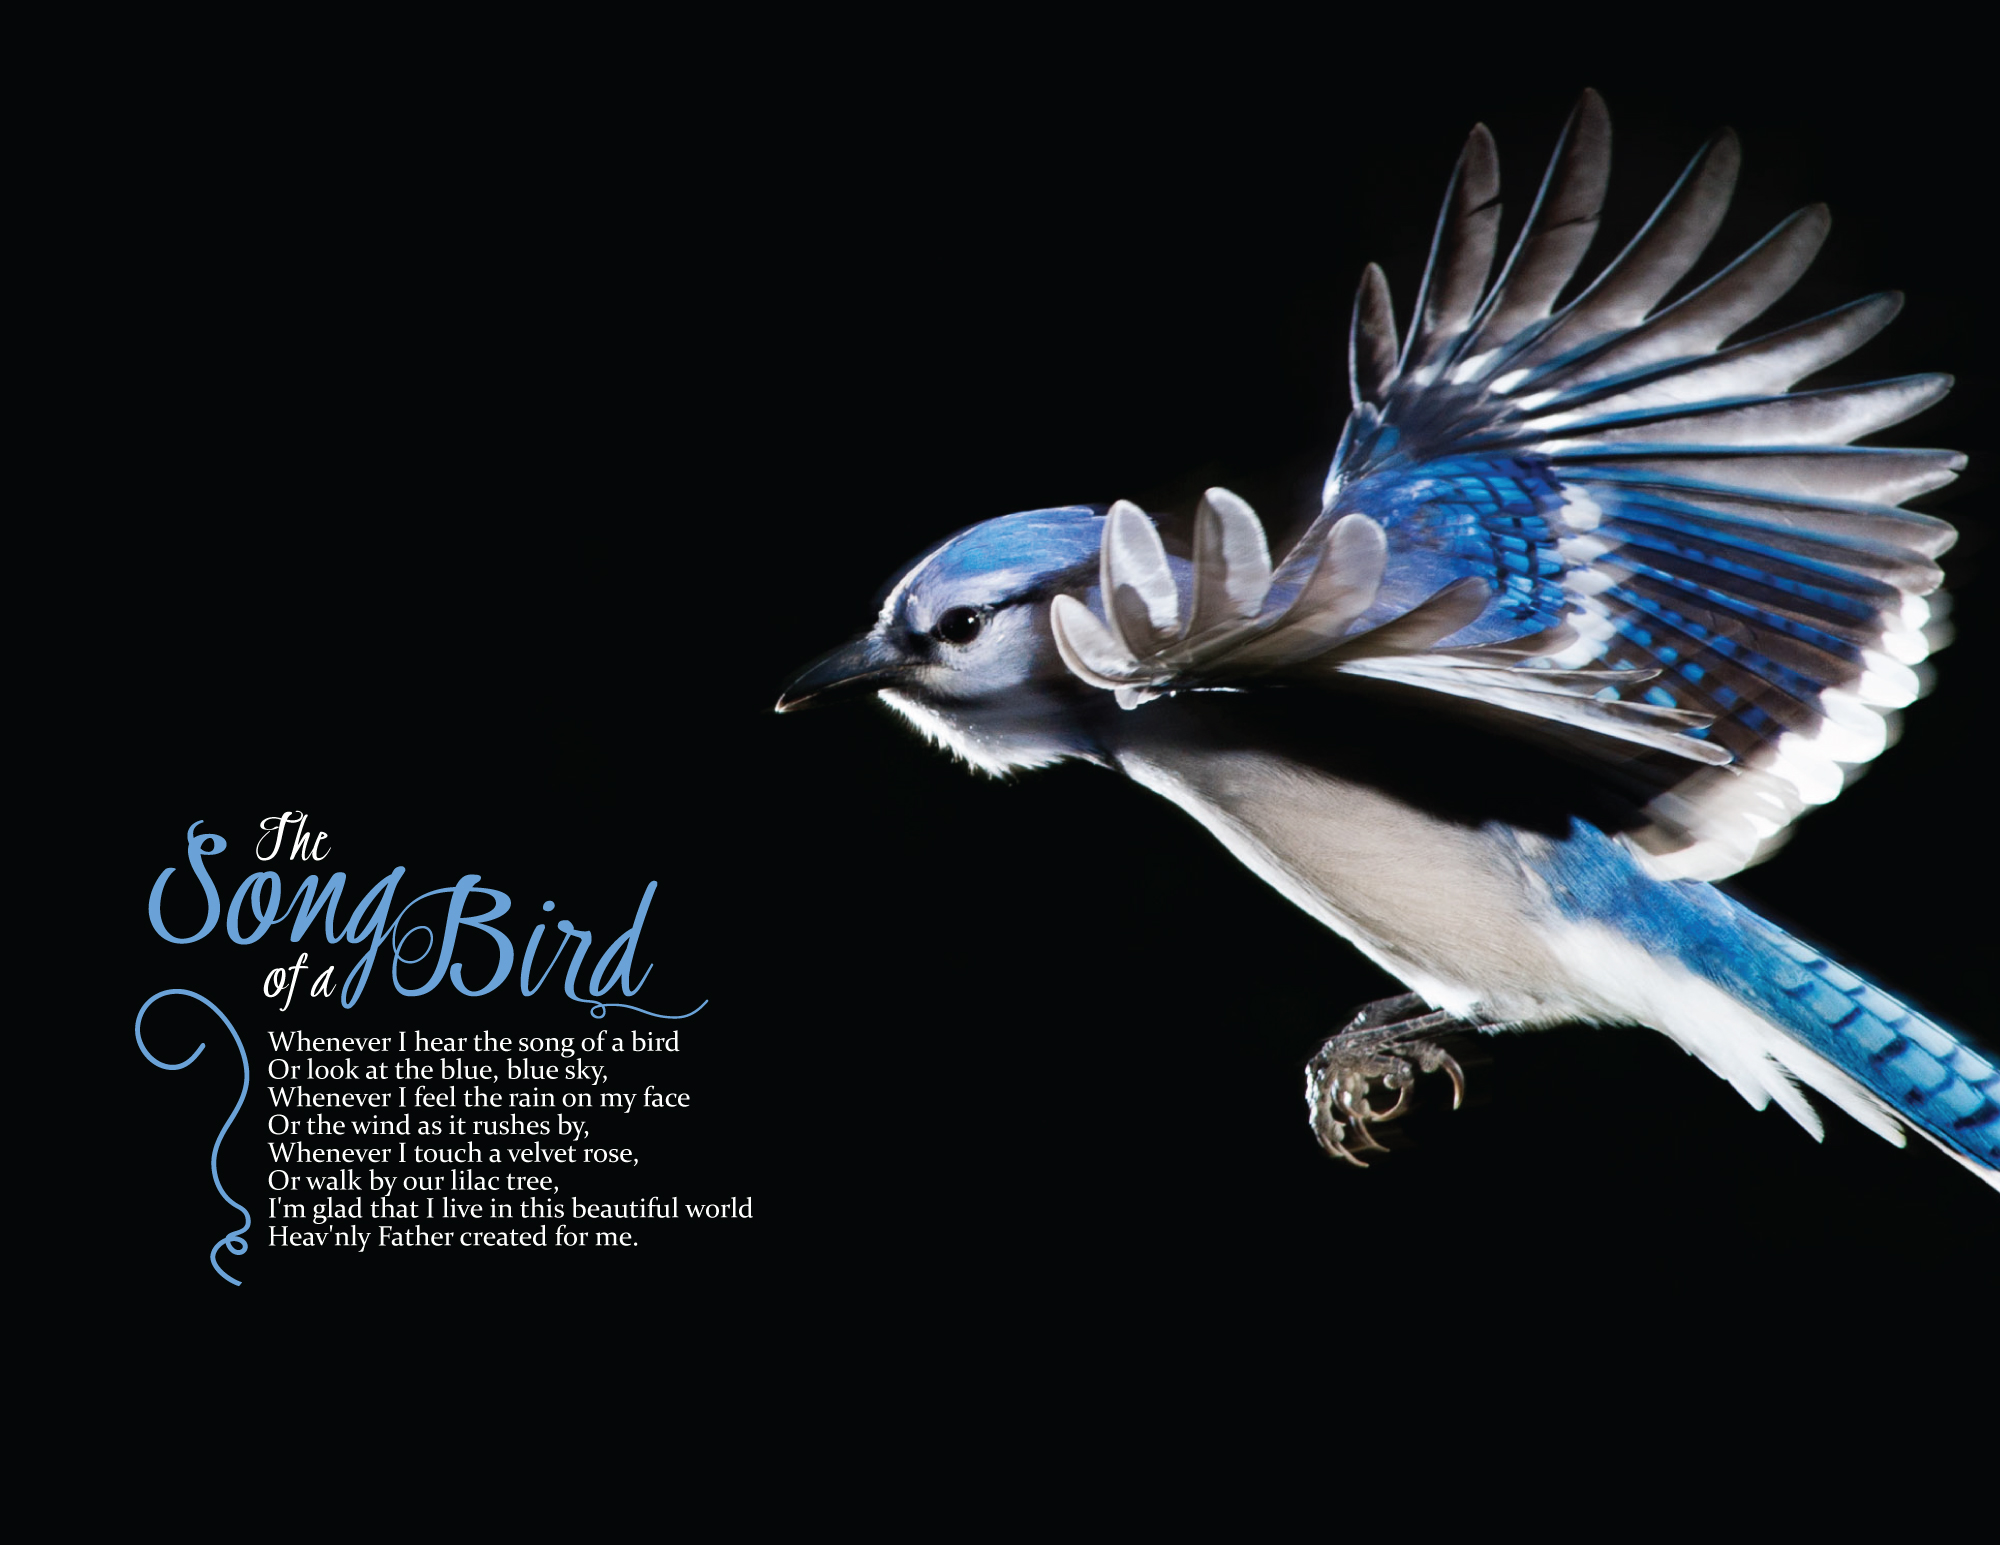
View: 4A – Sample Blog Post
Instructions
Follow this 5-step process to complete the project. Watch the video tutorials below, and remember you can pause and replay them as needed. Keep in mind that every version of Word has different features in different places. So you may have to look around for some of the hidden options.You may also schedule tutoring sessions as needed.
- Layout: Open a new document that is 8.5×11 or 11×8.5. Watch How to Find Quality Images Online to see how to find one high quality image online that is at least 1200 pixels on the long side. (Go to Course > Fair Use Guidelines and make sure to follow those quidelines when selecting images.) Insert the image and crop it as full-bleed (covers the entire page) without stretching it out of proportion. If it looks pixely and poor quality, choose another image. Follow the tips in the tutorials to format an image in Word so you can position and crop it.
- Typography: Select two contrasting typefaces based on principles in the Type Contrasts chapter of the The Non-Designer’s Design Book. Add a title, with at least one complementary design element, such as a line or shape. The shape may be repeated for visual interest. Add at least 50 words of simple, legible body copy, set between 9-11pt size. Keep the measure under 75 characters or no more than one-third of the image width. Maintain at least .5 inch margins around all type.
- Critique Process – Find more details in Course > Critique Process Guidelines
1. Class Facebook Critique: Post jpeg or png by Monday 8:00pm MDST
2. Client Critique: Watch Instructor critique recording on Tuesday
3. Critique Report: Include in blog post: Who-How-What critique you received & list two students YOU critiqued. - Blog Post: Display two images of your project and information like this 4A Sample Blog Post.
File name: After your critiques, make final changes and save your final project PDF with this file naming convention: 4AJakeSpencer.pdf
Note: WordPress does not display PDFs well and Word does not allow you to save your project as a jpeg.
So convert your PDF to JPG to display in your blog.
• Go to: this PDF to JPG converter Select “Browse” and select your PDF.
• Choose excellent JPG quality; Select “Convert PDF to JPEG” and download.
Also, take a screenshot of your project in Word, as shown in the sample blog post. Google “How to screenshot on PC (or Mac)” to see how easy it is to find quick tutorials online.
Resize your images: Follow the instructions in Course > Blog Post: Image Sizing Instructions to resize your project and Word screenshot to 1024 pixels on the long side.
Add Written process: include Message/Audience; critique report paragraph (see above); links to image source; font name/category for title and copy. -
Submission – Follow the instruction in Course > Blog Post: Submission Instructions
View 4A Sample Blog Post1. Go to project submission and upload the PDF of your project.
2. Attach the SCREENSHOT of your blog post.
3. Then you will be able to insert a working HYPERLINK to your blog.
Rubric
NOTE: Meeting the minimum requirements is “average” and constitutes an 80% or B- grade, according to the University Grading Guide. To receive a higher grade, students should excel.
√ Layout: Size: 8.5×11 or 11×8.5; Quality image; Full-bleed image; design element; Design principles.
√ Typography: 2 contrasting typefaces (no more than 2); Title; 50+ words body copy: 9-11pt size; Measure <75 ch or < 1/3 image width; .5 inch margins around type. Typography Rules applied
√ Blog Post: 2 images displayed at Large size: long side 1024px; quality jpeg of project; images are clickable; quality screenshot of project in Word; written process: Message/Audience listed; critique report: Who, What critique you received and what you changed; links to image source; font name/category for title and copy.
√ Submission: Screenshot of entire blog post, PDF of project and working hyperlink to blog post.
CAUTION: your assignment is not complete until you submit a link to it here. However, you are allowed a one-time extension, if you choose to use your mulligan. (See syllabus). We check your blog post for completion right at the deadline, so please do not add things after submitting your link, until it has been graded.