
Preparation
- WATCH VIDEO:
For additional help to set up your blog, go to WordPress Tutorials.
Instructions
A. SET UP BLOG
1. WATCH VIDEO
2. ORGANIZE YOUR BLOG. If you are using the same blog for other classes, you should set up pages and categories to separate and organize your content like a website. Notice the tabs across the top of this SAMPLE blog.
Some themes may not give you as many options, so you have to try a few different themes. Set up a category and page called “Design.” This is the section of your blog that we will use on the “Blog Roll” in the “Course” folder so your classmates can easily find your projects.
Note: At some point in the future, you should think about getting an even more professional web presence, with a full self-hosted WordPress website. (like Megan Kelly’s)
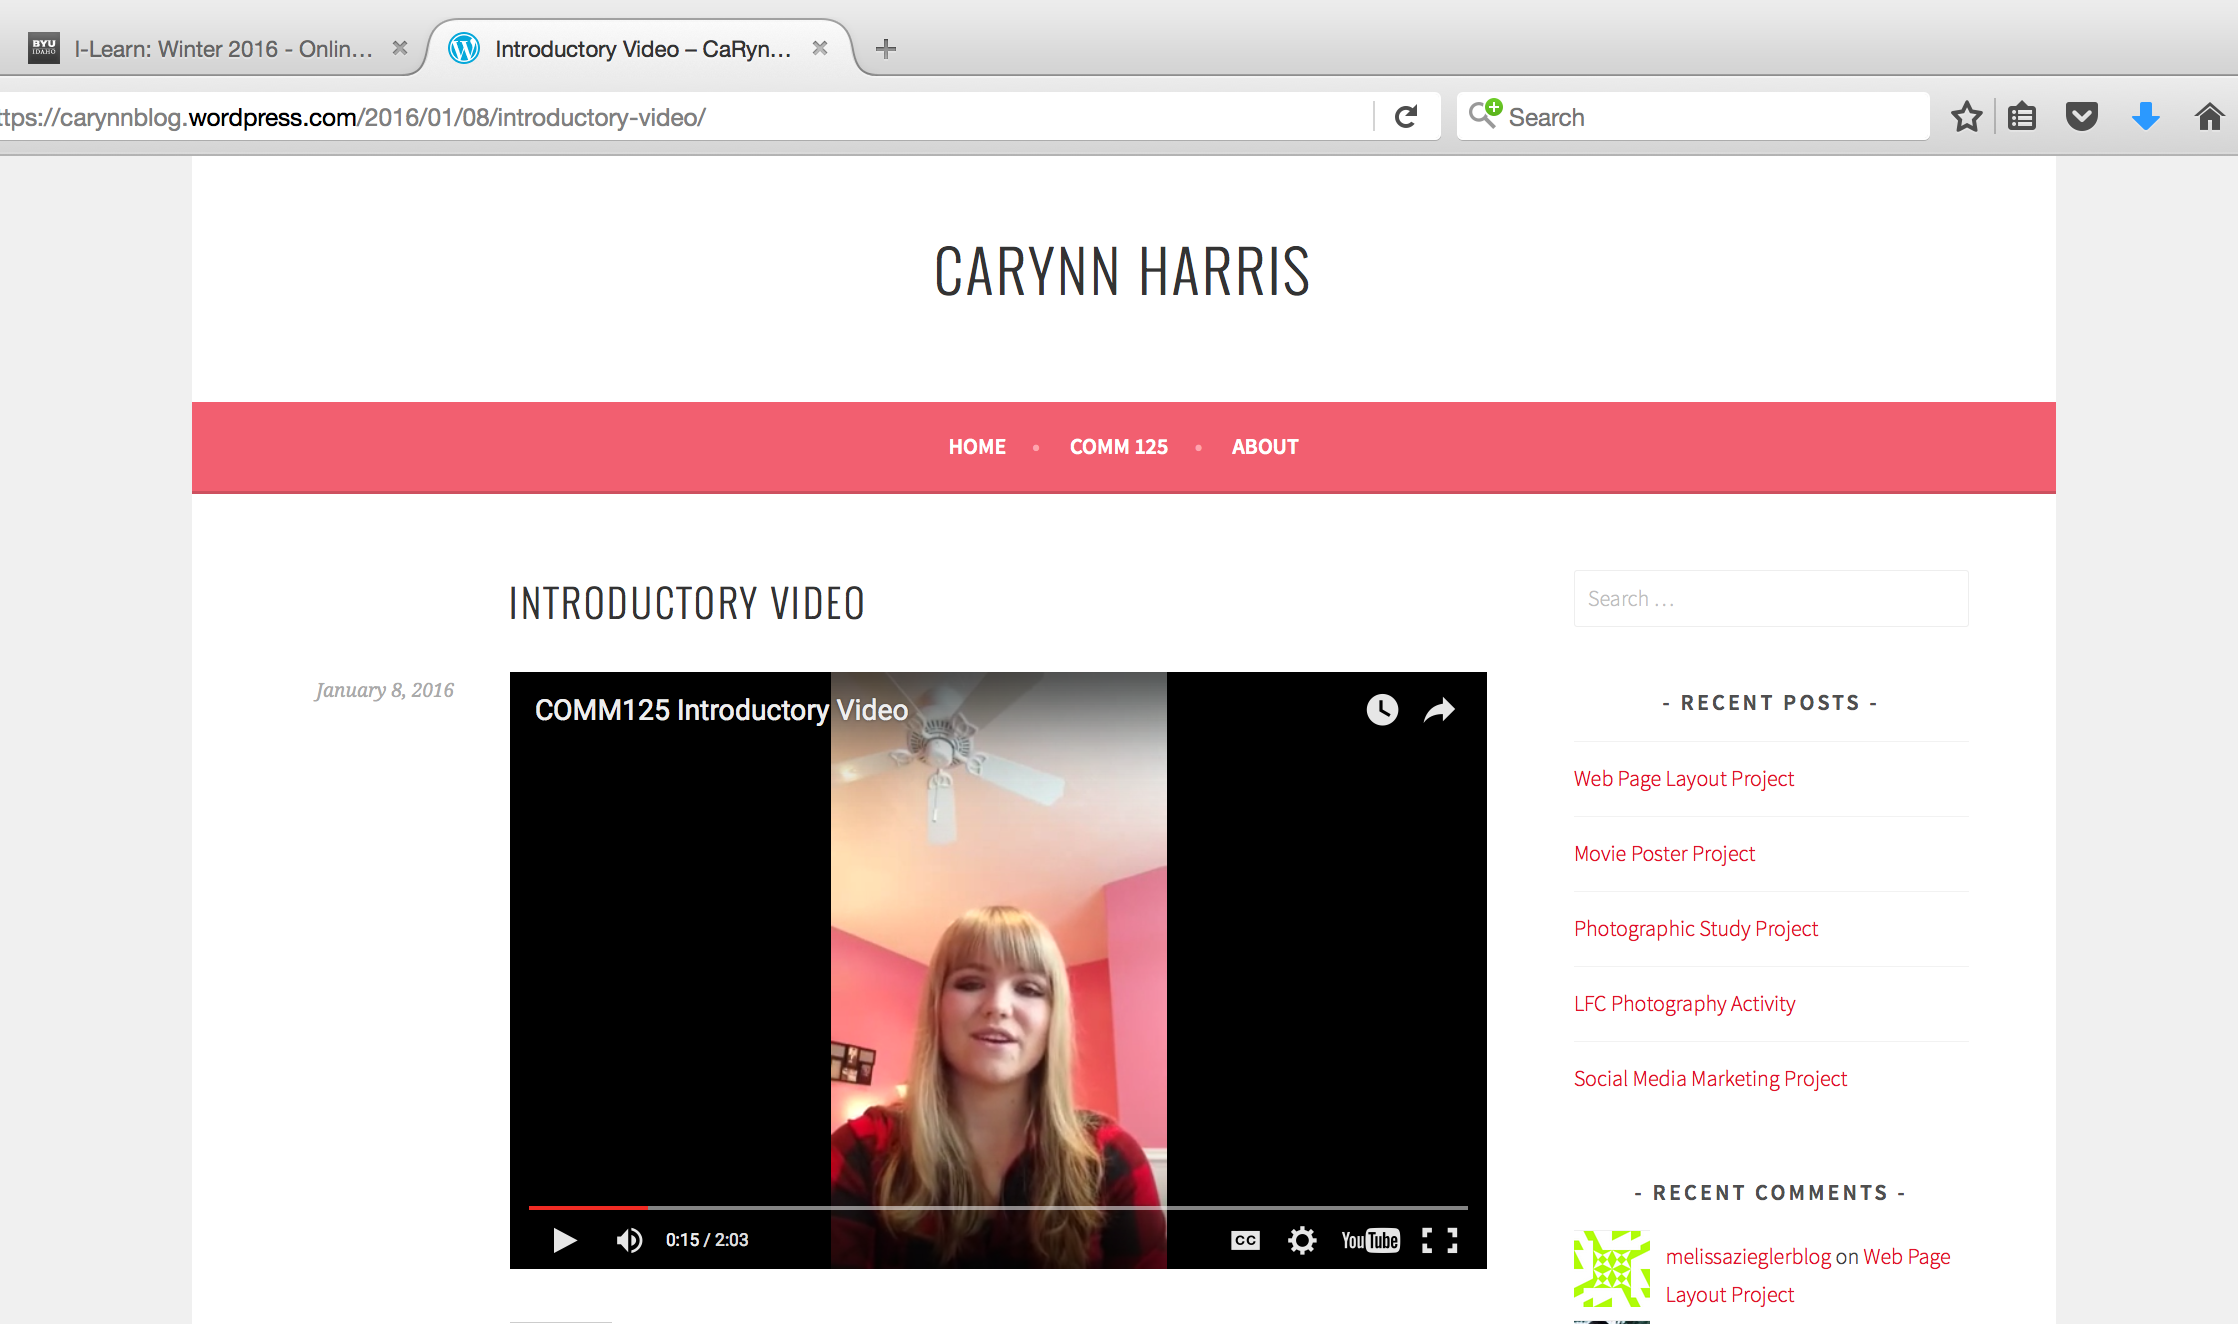
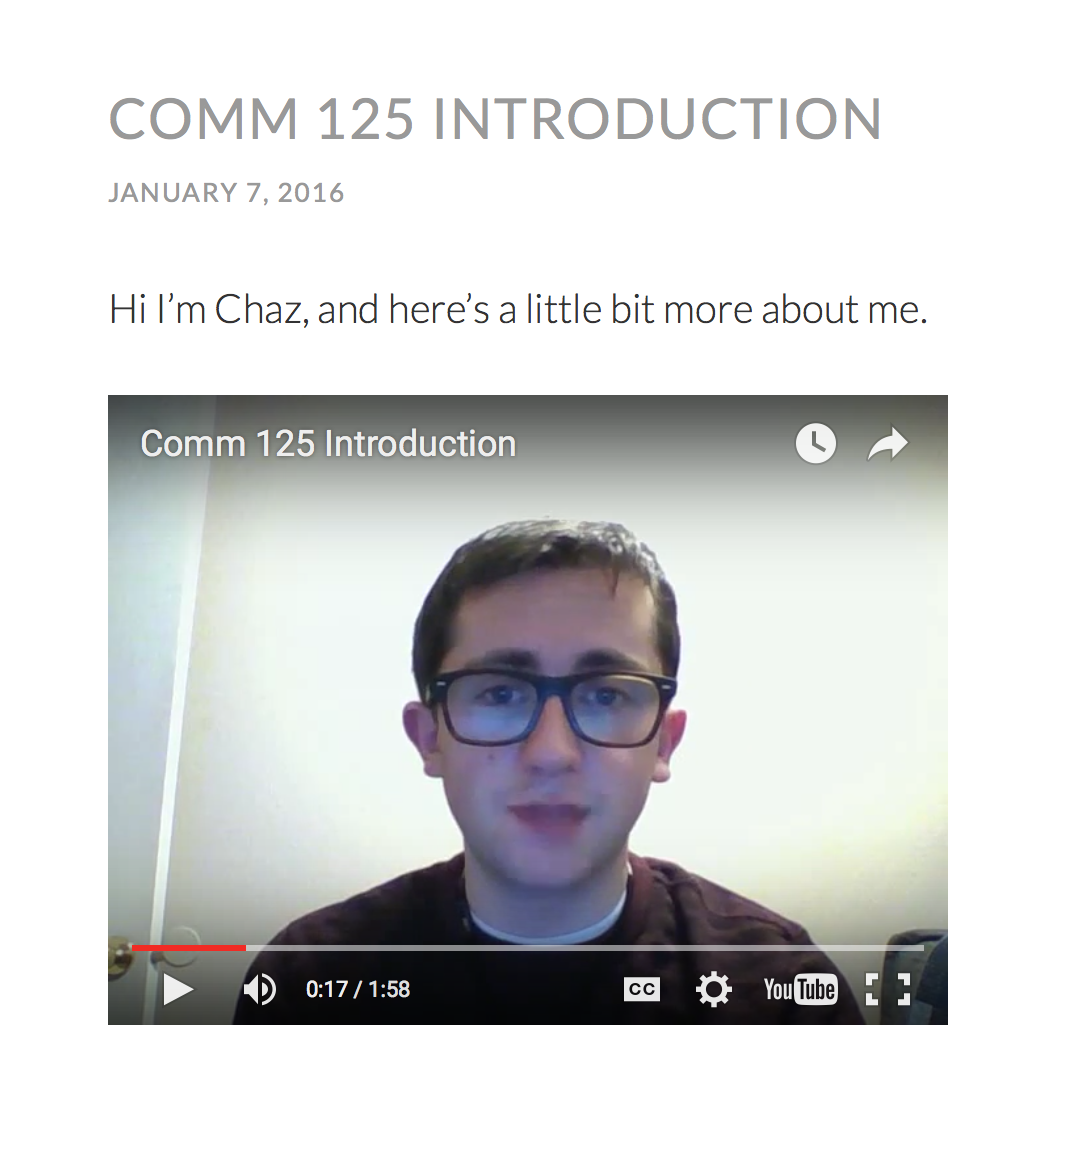
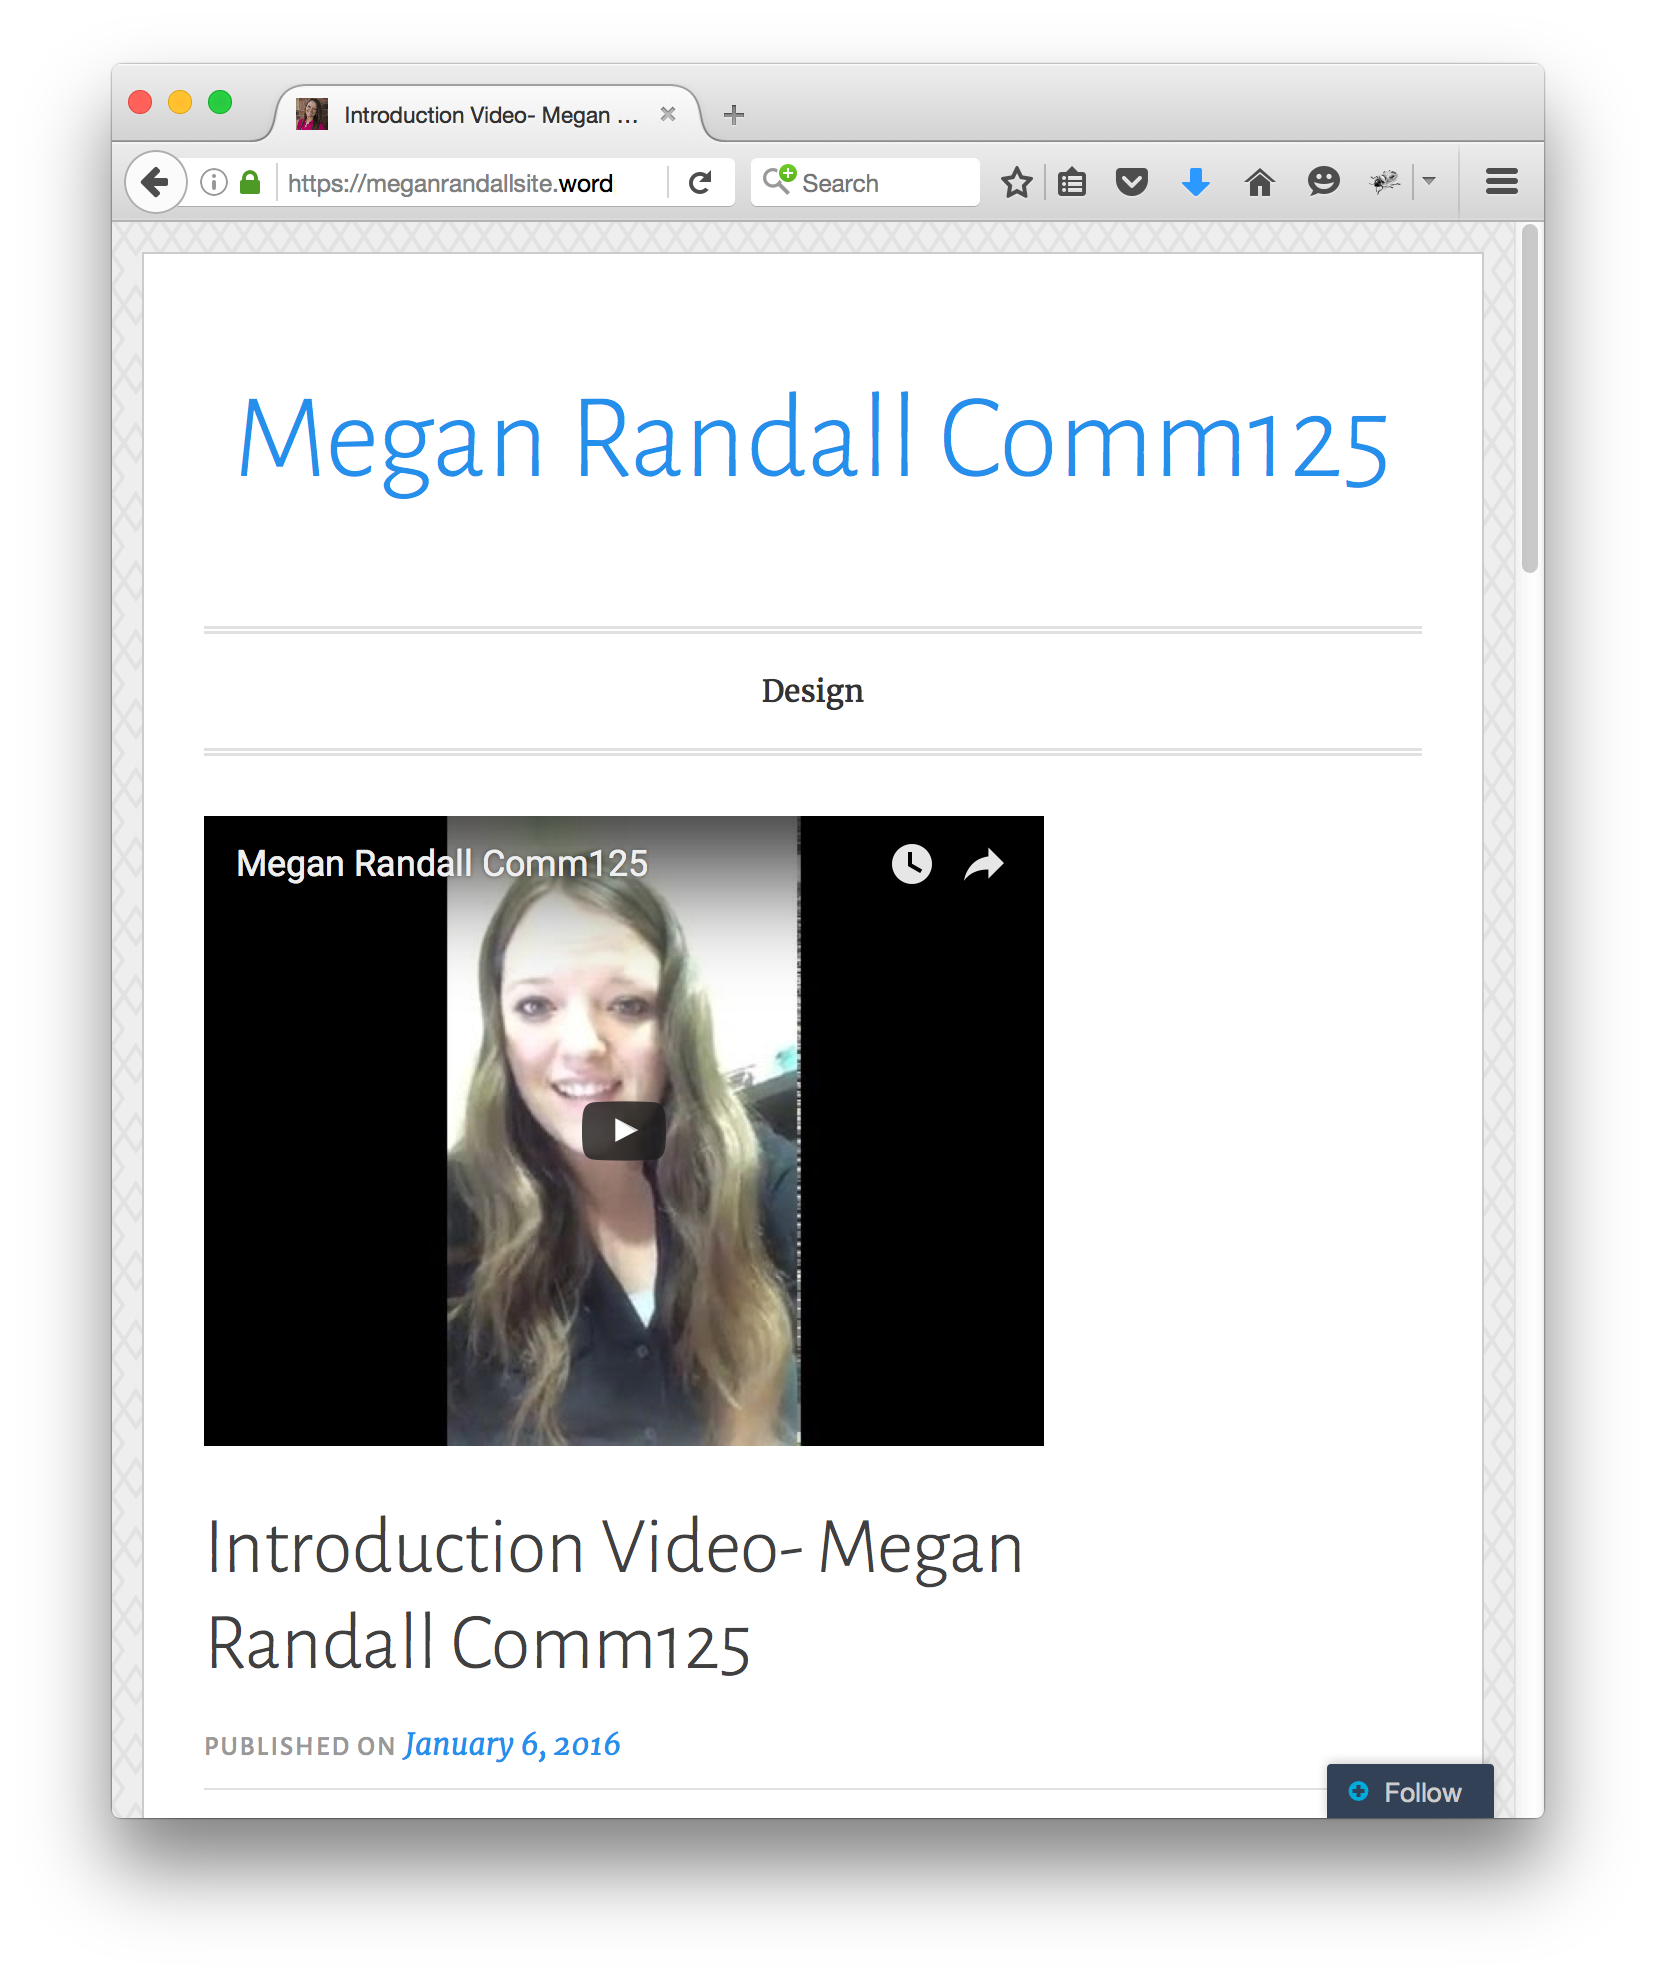
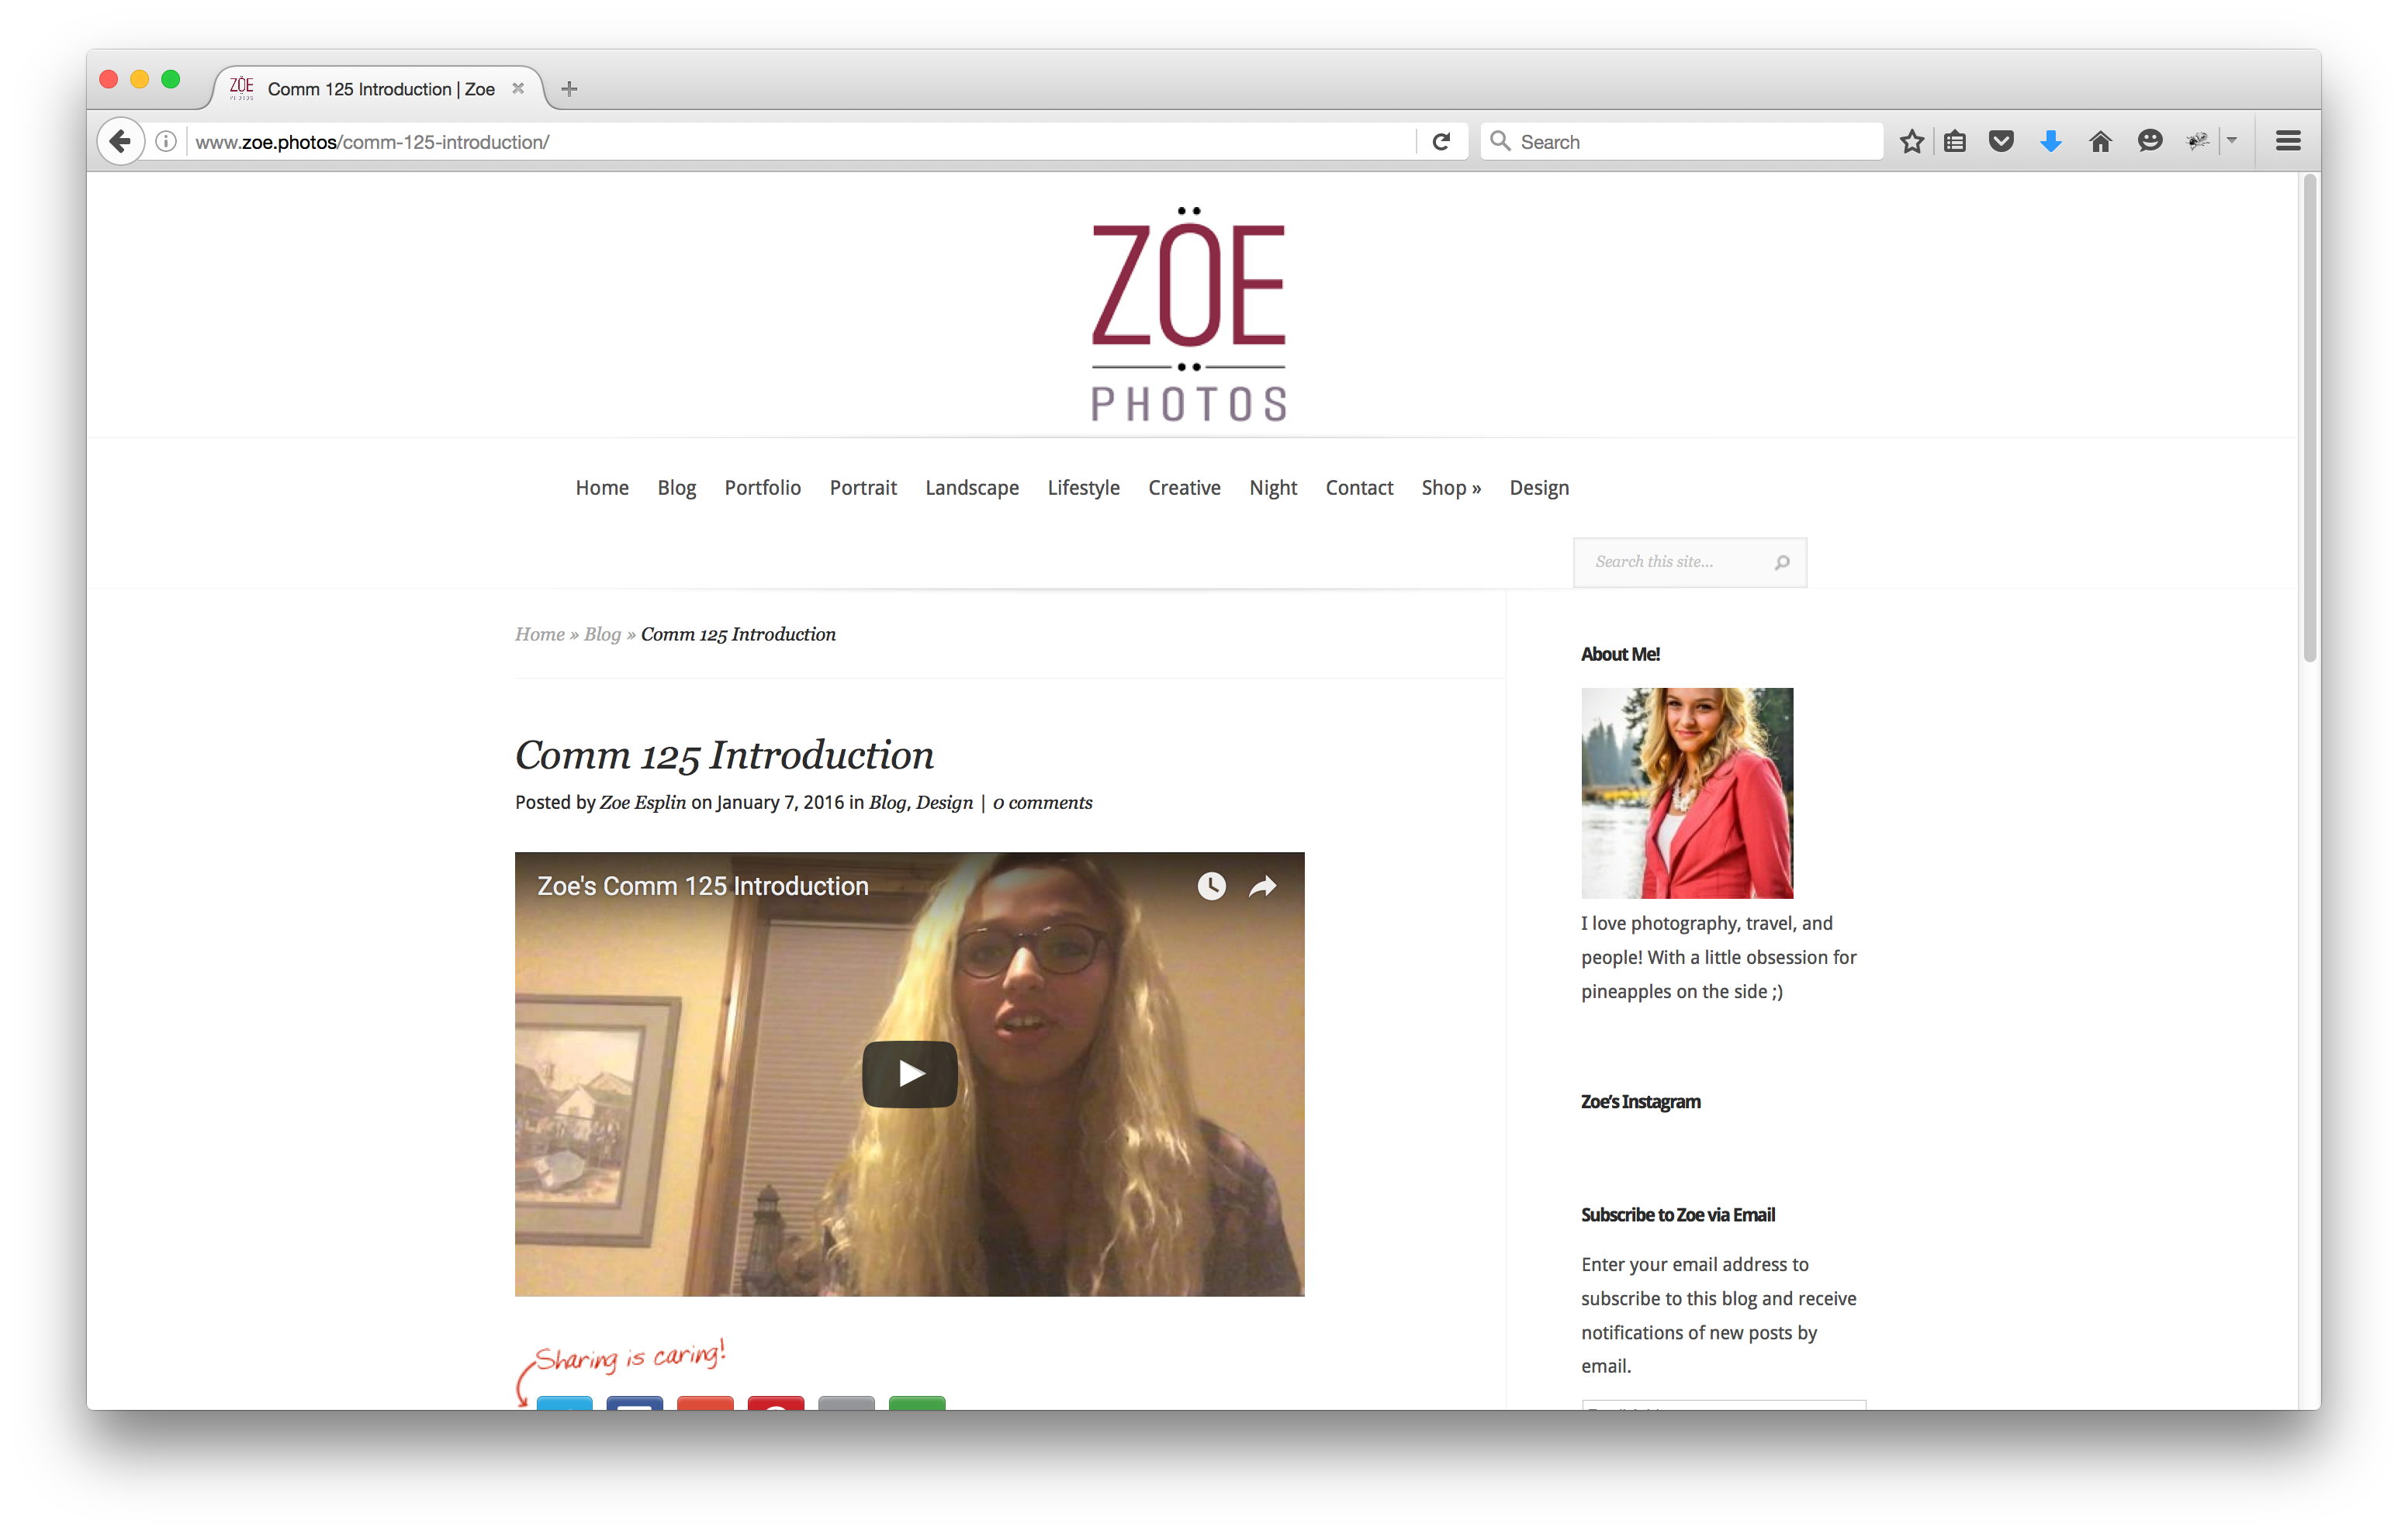
B. CREATE A VIDEO INTRODUCTION.
1. PRINT & VIDEO PROCESS
Follow the instructions under Course > Print & Video Instructions
Make sure you sit close to your screen, so we can see you! Spend between two and three minutes talking about:
1. Yourself.
2. Your experience with Visual Communication.
3. What you hope to learn or gain from this course.
C. CREATE NEW BLOG POST AND EMBED VIDEO.
1. CREATE A NEW BLOG POST. Following the instruction in the Video Tutorial: Setting up WordPress, create a new blog post. (Video Tutorial: Setting up WordPress Transcript)
2. EMBED VIDEO. In YouTube, below the video you uploaded, click on the word “Share” and then “Embed.” Copy the embed code. Also click “Show More” and uncheck the option to “Show suggested videos … ” If you need help finding these options, watch this short video (watch this short video transcript). Go to your new blog post and click “Text” to see the HTML view. Paste the YouTube embed code into your blog post.
3. PUBLISH YOUR BLOG POST and check the “Design” category.
D. ADD YOUR INTRO & BLOG LINK.
1. Copy the URL from the top of your browser window when your blog is open.
2. Choose “Start a New Thread.”
3. Add a working hyperlink to the “Design” section of your blog. Click the “Insert Quicklink” button and then choose “URL”. Paste in the link to your blog post in both boxes. Select the target to be “New Window” and then click “Save”. If you do not do this step your link will not work and you will lose points.
4. Post your thread in the discussion.
4. Click on the link to your classmates’ blogs, watch their videos and comment on at least two classmates’ posts here in I-Learn. If someone already has two comments, choose another classmate.
E. JOIN OUR CLASS FACEBOOK GROUP.
Please join the class Facebook group for a quick and easy way to share ideas, collaborate, and connect.
• This is a private group that doesn’t require you to befriend your classmates in order to join.
• Students in the past have found this valuable for arranging critiques, asking questions, and bridging the online gap. In fact they have preferred it to the normal I-Learn discussion board. There will also be a lot of peer-to-peer interaction when you start commenting on each others’ blogs in week 4 and beyond.
• Your instructor emailed you a link to invite you to join this group. If you can’t find it, please ask your instructor.