Client Situation
Preparation
Optional: Meeting(s) with a BYU-I Writing Center tutor.
Instructions for Step 3: Magazine Spread Project—Print & Video
Be sure to complete steps 1 and 2 before starting this step 3.
CRITIQUE:
When your project is at least 90% complete and includes 100% of the requirements, gather critiques from at least two classmates in this COMM 125 section. Connect with classmates in the class Facebook group. Write a Critique Report paragraph in your blog post to describe your critique. Include the following: Who, When, How, and What critique you received and what you changed. You should also attend the live instructor critique or view the recording before you finalize your project. Check the Instructor Weekly Intro at the top of the weekly folder to learn when the live critique will be held. (Tues or Wed). For this project, you will show your blog post, as well as your printed project during critique.
MAGAZINE SPREAD PROJECT—PRINT & VIDEO
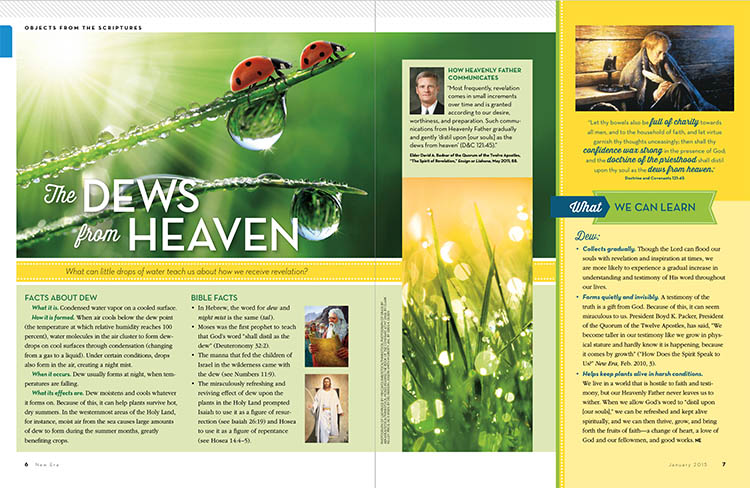
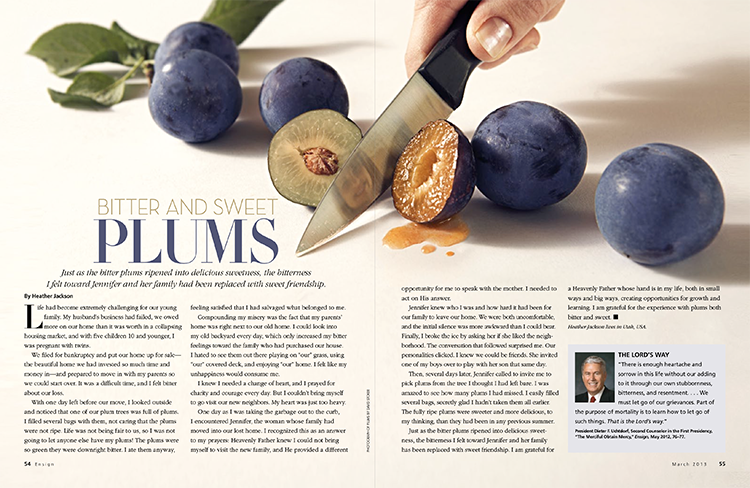
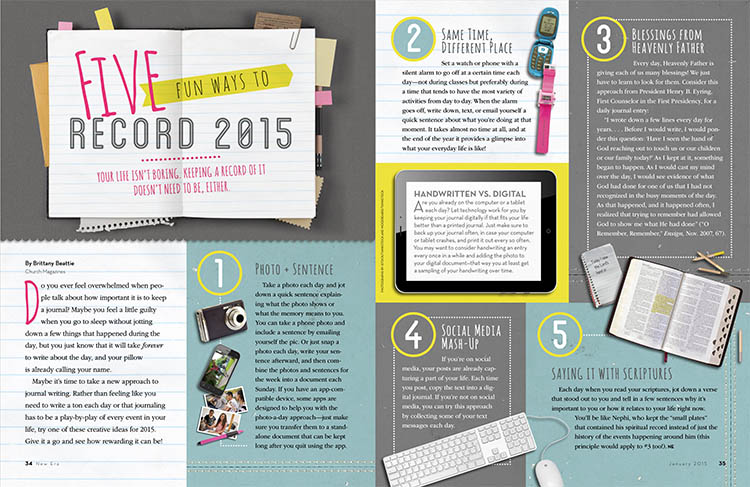
After gathering critique, make final changes and print your project until your colors and density are correct and, at final draft, professional quality. Printing size needs to be Tabloid Plus paper (12×18) with the full-bleed trimmed to a folded 8.5 x 11 size. You should have a local printer (Kinkos, Alphagraphics, etc.) who can handle this. If not, try to plan ahead and get it printed before the final. Contact your instructor with questions about printing. Normally it takes several test prints to get things correct. Note that images usually print darker than they appear on the screen, but that depends on your monitor and printer. You will undoubtedly need to print several test prints to get it right with the hardware you are using. Printing is a painful, but important process to learn. It is good for you to know how to deal with the printing issues that always come up. Be sure you print your final on heavier, portfolio quality paper, which means cover stock, at least 32 lb and bright white.
Create a *NEW Blog Post for your final project
You should already have a blog post from week 7 with the sketches for this project. Create one more final blog post to finish the project. Match the formatting of this Sample Blog Post. Use your webcam or smart phone video camera to create a one minute video to show your printed project. You can also use Google Hangout (see tutorial below). Embed the video in the blog post you created. Include 5+ sentences in your blog post about who you received critique from, what you changed due to the critique and who you critiqued.
SUBMIT LINK AND BLOG SCREENSHOT TO I-LEARN:
Find more details in Course > Blog Post: Submission Instructions
1. Go to project submission and attach the SCREENSHOT of your blog post.
2. Then you will be able to insert a working HYPERLINK to your blog.
How to use Google Hangouts
Rubric
NOTE: Meeting the minimum requirements is “average” and constitutes an 80% or B- grade, according to the University Grading Guide. To receive a higher grade, students should excel.
√ Layout: Size: 18×12; quality images: long side 1024px when on your blog.
√ Typography: Contrasting typography; title; Consistent body copy; .5 inch margins around type; Typography Rules
√ Requirements: 400-800 of your own, original words (no more than 75 quoted words); at least two images/illustrations; Design principles.
√ Blog Post: Three images displayed at Large size (quality jpeg of project; quality image of the shape map; quality image of the sketches); images are clickable; Written process: 5+ sentences (message and audience listed); Critique Report: 3+ sentences (Who, what, and applied critique); links to image source; font name/category for title and copy; embedded YouTube Video of your printed project.
√ Submission: Screenshot of entire blog post and working hyperlink to blog post.
CAUTION: your assignment is not complete until you submit a link to it here. We check your blog post for completion right at the deadline, so please do not add things after submitting your link, until it has been graded.

