

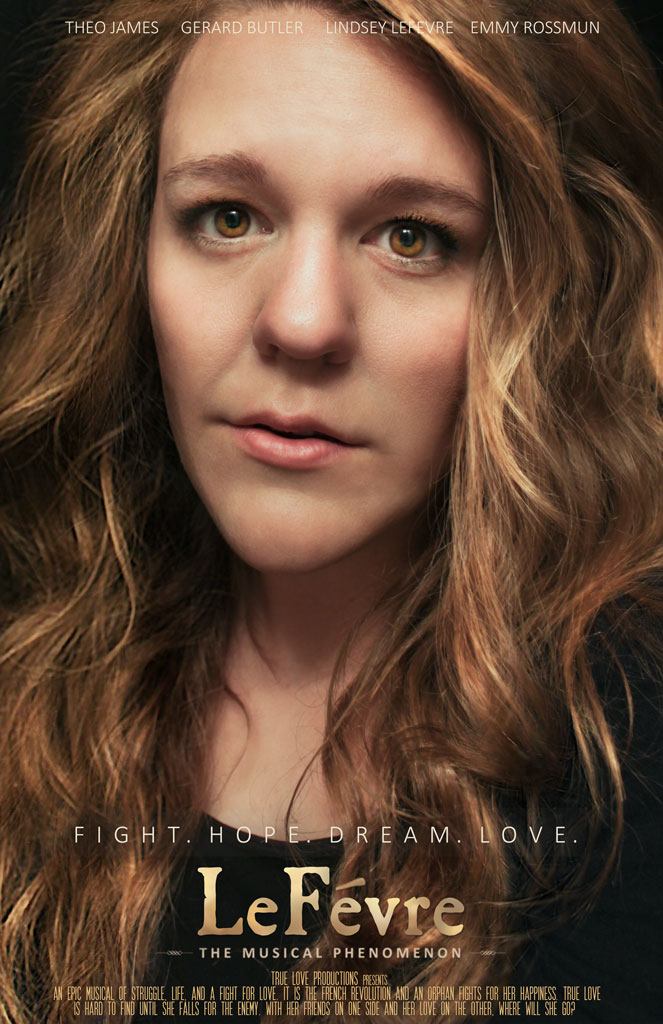
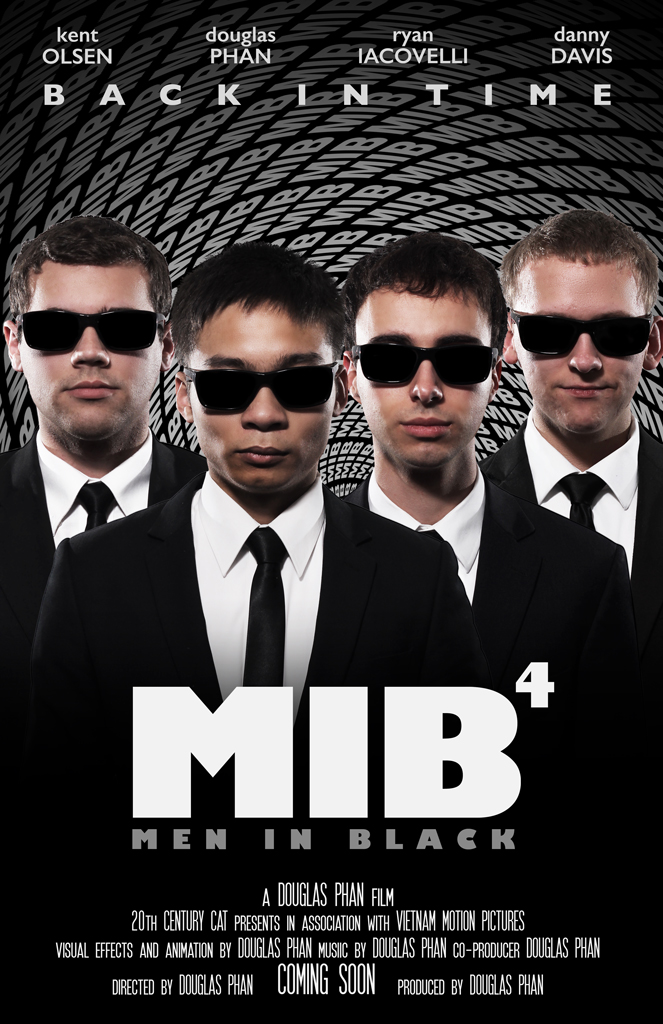

Comm 316 students: Lindsey LeFevre – Douglas Phan – Ben Harker Other Examples
Client Situation
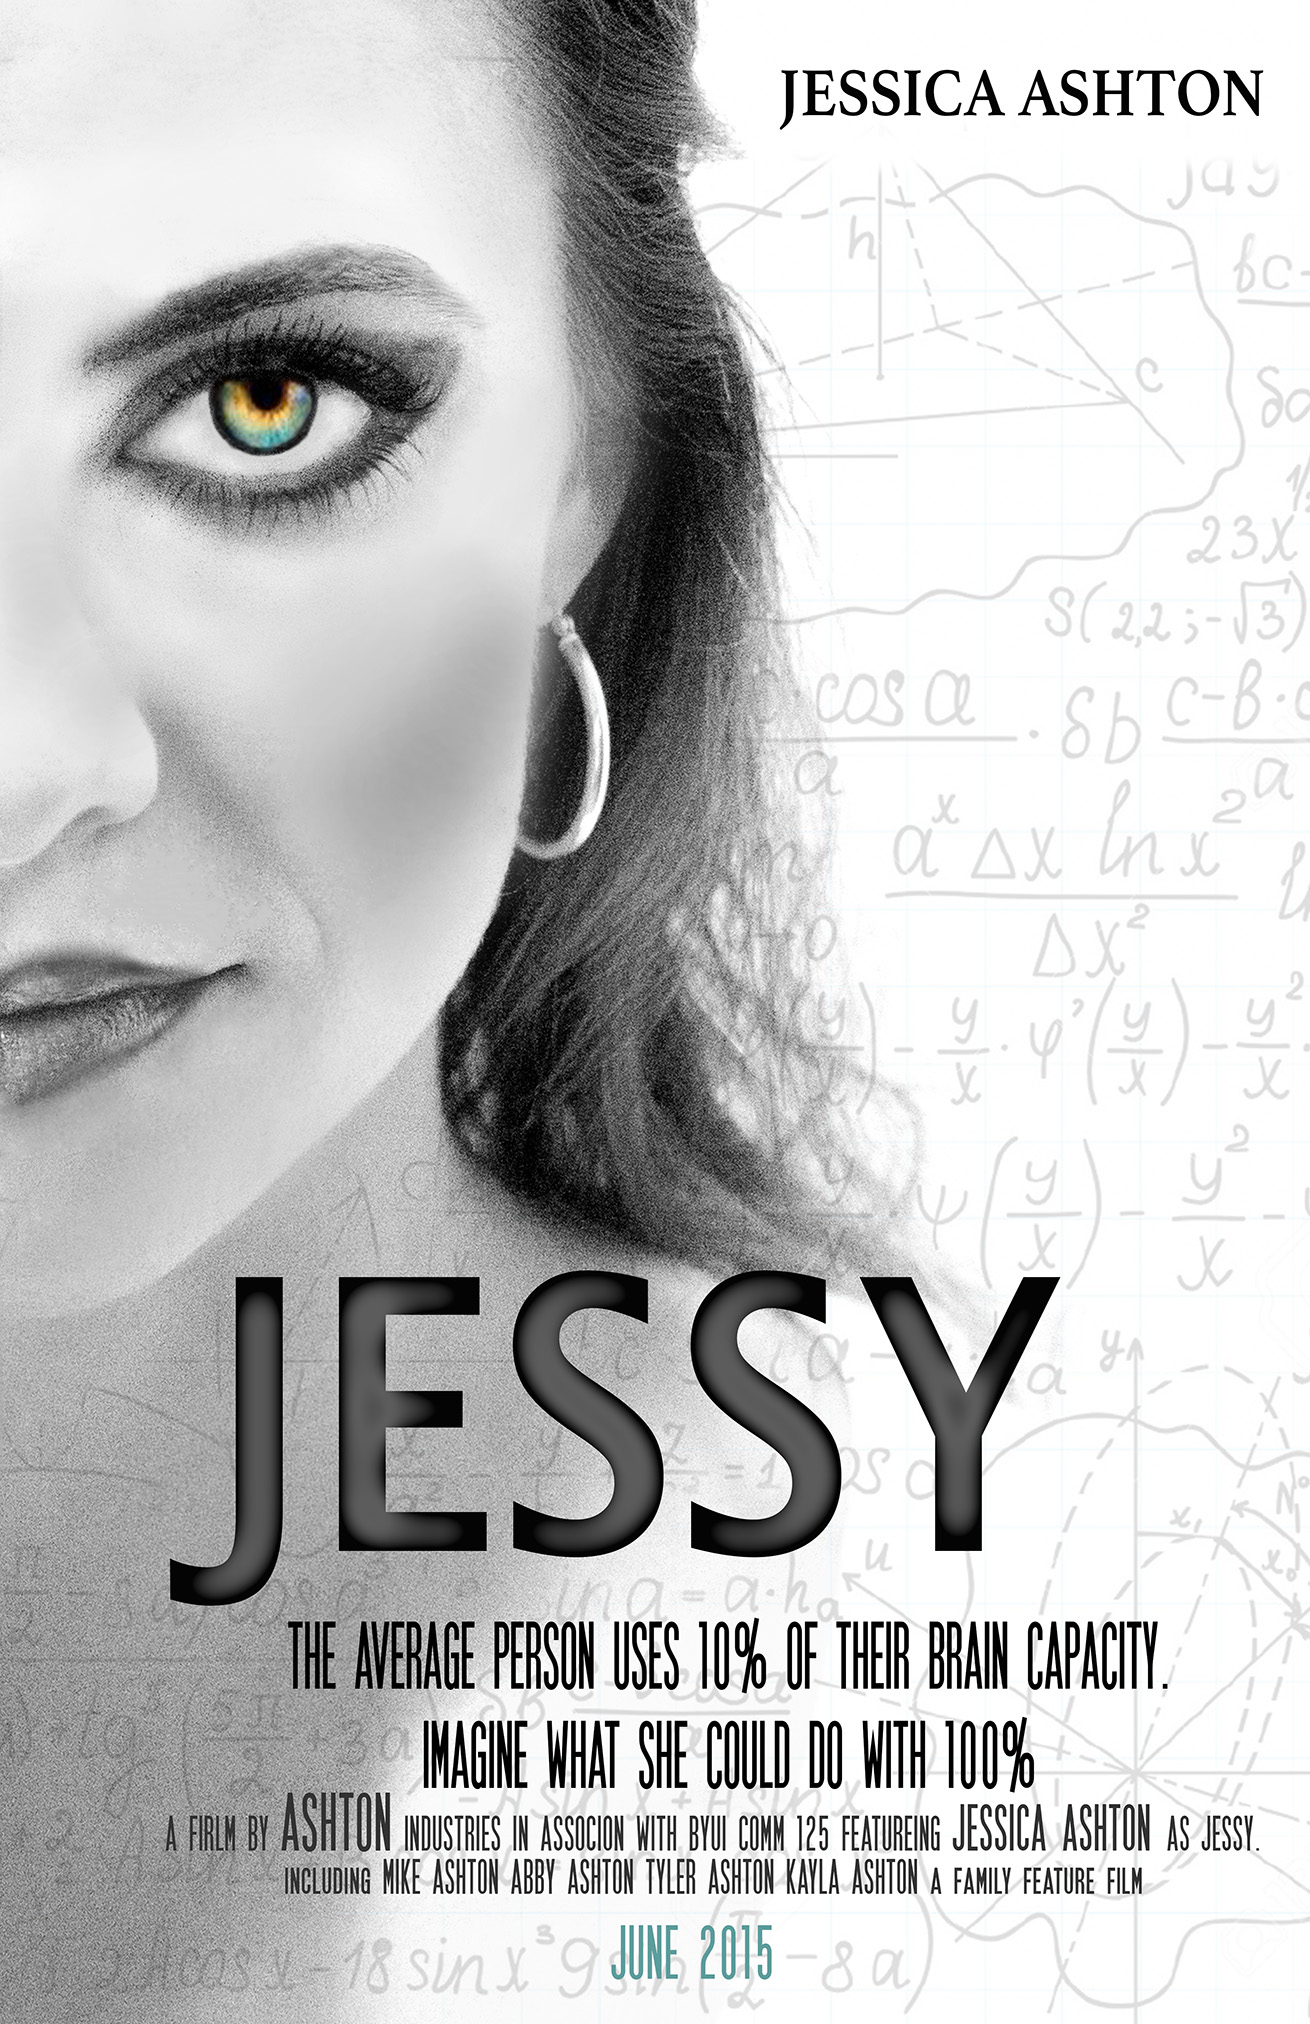
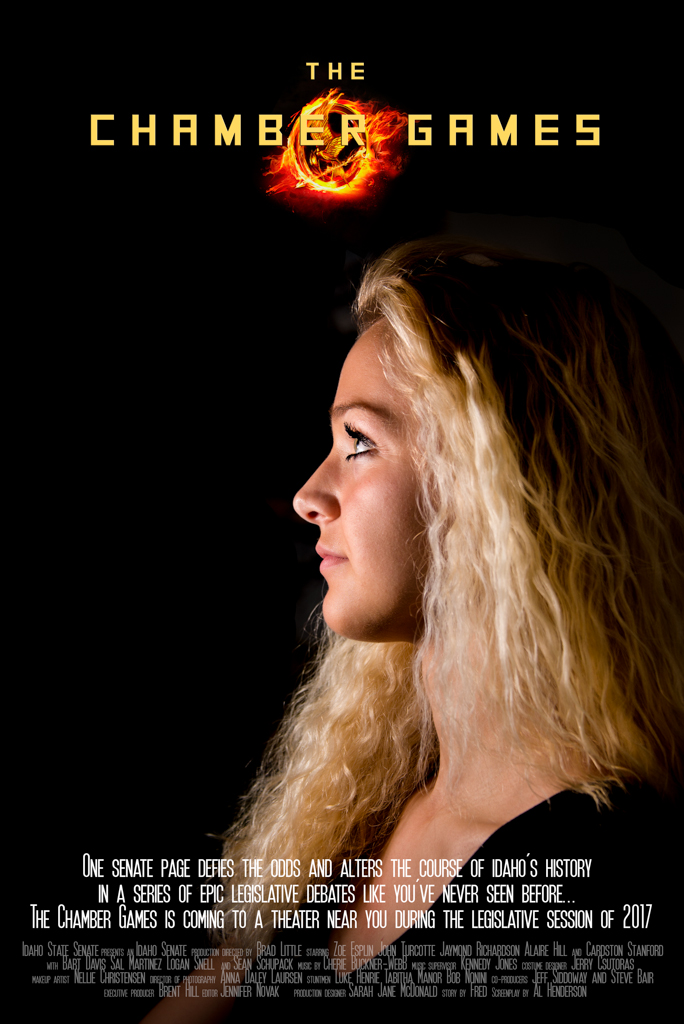
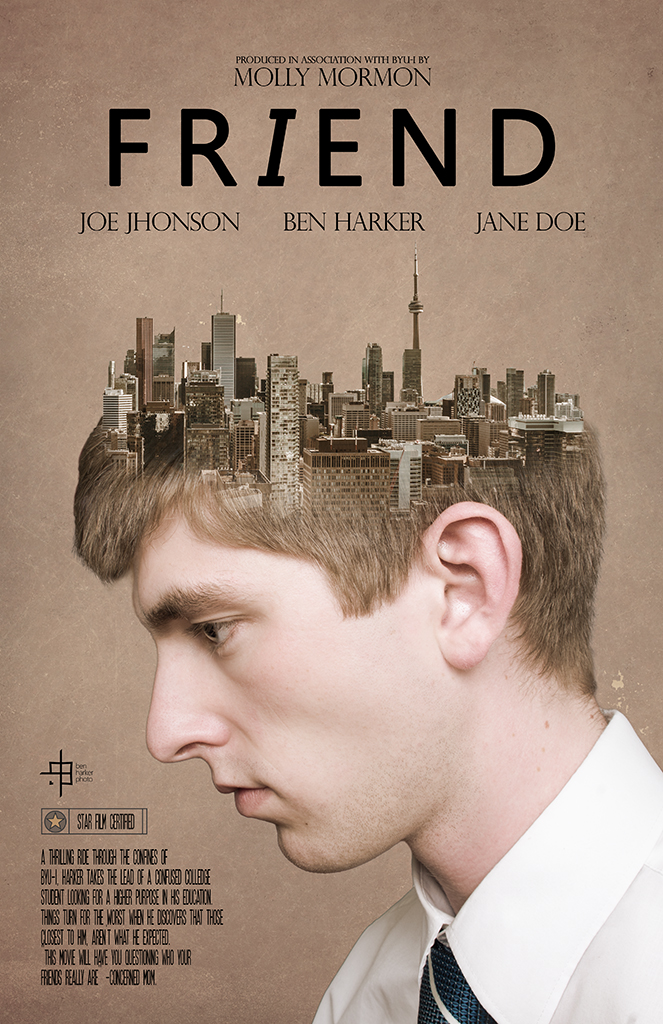
Use your creative genius and photography skills to create a movie poster, then print it and share it with the class in a YouTube video! The story line is wide open, but you need to be a main character in this movie. One of the images in the poster needs to be taken by you.
For this situation, your just landed a new job and your manager asked you to create a creative and fun movie poster to introduce yourself to the employees at the next staff meeting.
Preparation
Movie Poster Font (for bottom information)
Quality image(s): Finding Quality Online Images (Finding Quality Online Images Transcript)
Local Print Shop: Locate an Alphagraphics, Kinkos, or similar print shop.
Instructions
Follow this 6-step process to complete the project. Watch the video tutorials below, and, remember, you can pause and replay them as needed. You may also schedule tutoring sessions as needed.
1. Layout
Open a new 11×17 inch document in Photoshop at 300ppi. Create a movie poster (real or fictitious). You need to be the main subject and you need to take at least one of the images in the poster. You may include quality images from the Internet, based on the Fair Use Guidelines to locate quality online images. Add appropriate image editing, masking, and blending as needed for a professional style movie poster theme.
Take time to learn Photoshop now!
If you spend some time to learn the Photoshop software with the following video tutorials, you will be able to use these skills in the future for so many school, work and personal projects. Watch the following video to learn how to mask images in Photoshop and Size Your Images to create your movie poster. But if you are new to Photoshop, you should watch all these basic Photoshop videos here, then pause and replay, while you practice the skills in the software.
For more video tutorials click here, or view them below.
Getting Started in Photoshop
Filters in Photoshop
Grayscale in Photoshop
Adjustment Levels
Vector in Photoshop
Layer Styles in Photshop
Making Selections in Photoshop
Controlling Blur in Photoshop
Google any topic for help! Also, don’t forget that you can always “google” a topic to find many helpful resources and videos already on the web. The skill of self-learning is so important, and can help when future clients or employers ask you to do something you are not quite sure how to do yet.
Meet with the Tutor! There is also a very helpful tutor you can schedule an hour with three times a week to get specific help, it makes all the difference!
File Management: Always save your full quality .psd (Photoshop document) for editing and printing. You will prepare two different files from that .psd for this project:
• Blog-size JPEG: 1024 pixels–long side.
• Print-size PDF: Full size 11×17 @ 300ppi (Choose File>Save as Photoshop PDF)
2. Typography
Include the movie title in a large, eye-catching typeface. Use a contrasting typeface to feature main actors. Use the Movie Poster Font for the small, type at the bottom to add the Movie Summary of the story line and other actors, etc.
3. Critique – Find more details in Course > Critique Process Guidelines
1. Class Facebook Critique: Post jpeg or png by Monday 8:00pm MDST
2. Client Critique: Watch Instructor critique recording on Tuesday
3. Critique Report: Include in blog post: Who-How-What critique you received & list two students YOU critiqued.
4. Print & Video
Follow the instructions under Course > Print & Video Instructions
5. Blog Post
View the 10A Sample Blog Post here. (Transcript.) Display a JPEG image of your movie poster project at large size in your blog post. Be sure you image is clickable, so the image may be viewed at its full 1024px size. (see video tutorial above) Embed the one min. YouTube video of your printed project.
Add Written process: 5+ sentences (Include Message/Audience); Critique Report paragraph: 3+ sentences; list which image(s) you took; links to other image sources; font name/category for title and copy.
6. Submission
Find more details in Course > Blog Post: Submission Instructions
2. Then you will be able to insert a working HYPERLINK to your blog.
Rubric
NOTE: Meeting the minimum requirements is “average” and constitutes an 80% or B- grade, according to the University Grading Guide. To receive a higher grade, students should excel.
√ Layout:Size: 11×17; quality JPEG: long side 1024px; 1+ self-portrait; one other original image; quality edits; Light—Focus—Composition—Creativity. Design principles.
√ Typography:Contrasting typefaces; actors listed in contrasting typeface; movie poster font used to add a movie summary at bottom. Typography Rules.
√ Blog Post: one JPEG displayed at Large size; quality JPEG of project; images are clickable; written process: 5+ sentences; message and audience listed; Critique Report: 3+ sentences; font name/category for title and copy; original images listed; other images include source link; quality 11×17 print displayed in one min. YouTube video.
√ Submission: Screenshot of entire blog post and working hyperlink to blog post.
CAUTION: your assignment is not complete until you submit a link to it here. However, you are allowed a one-time extension, if you choose to use your mulligan. (See syllabus). We check your blog post for completion right at the deadline, so please do not add things after submitting your link, until it has been graded.